好友 阅读权限 10
听众 最后登录 1970-1-1
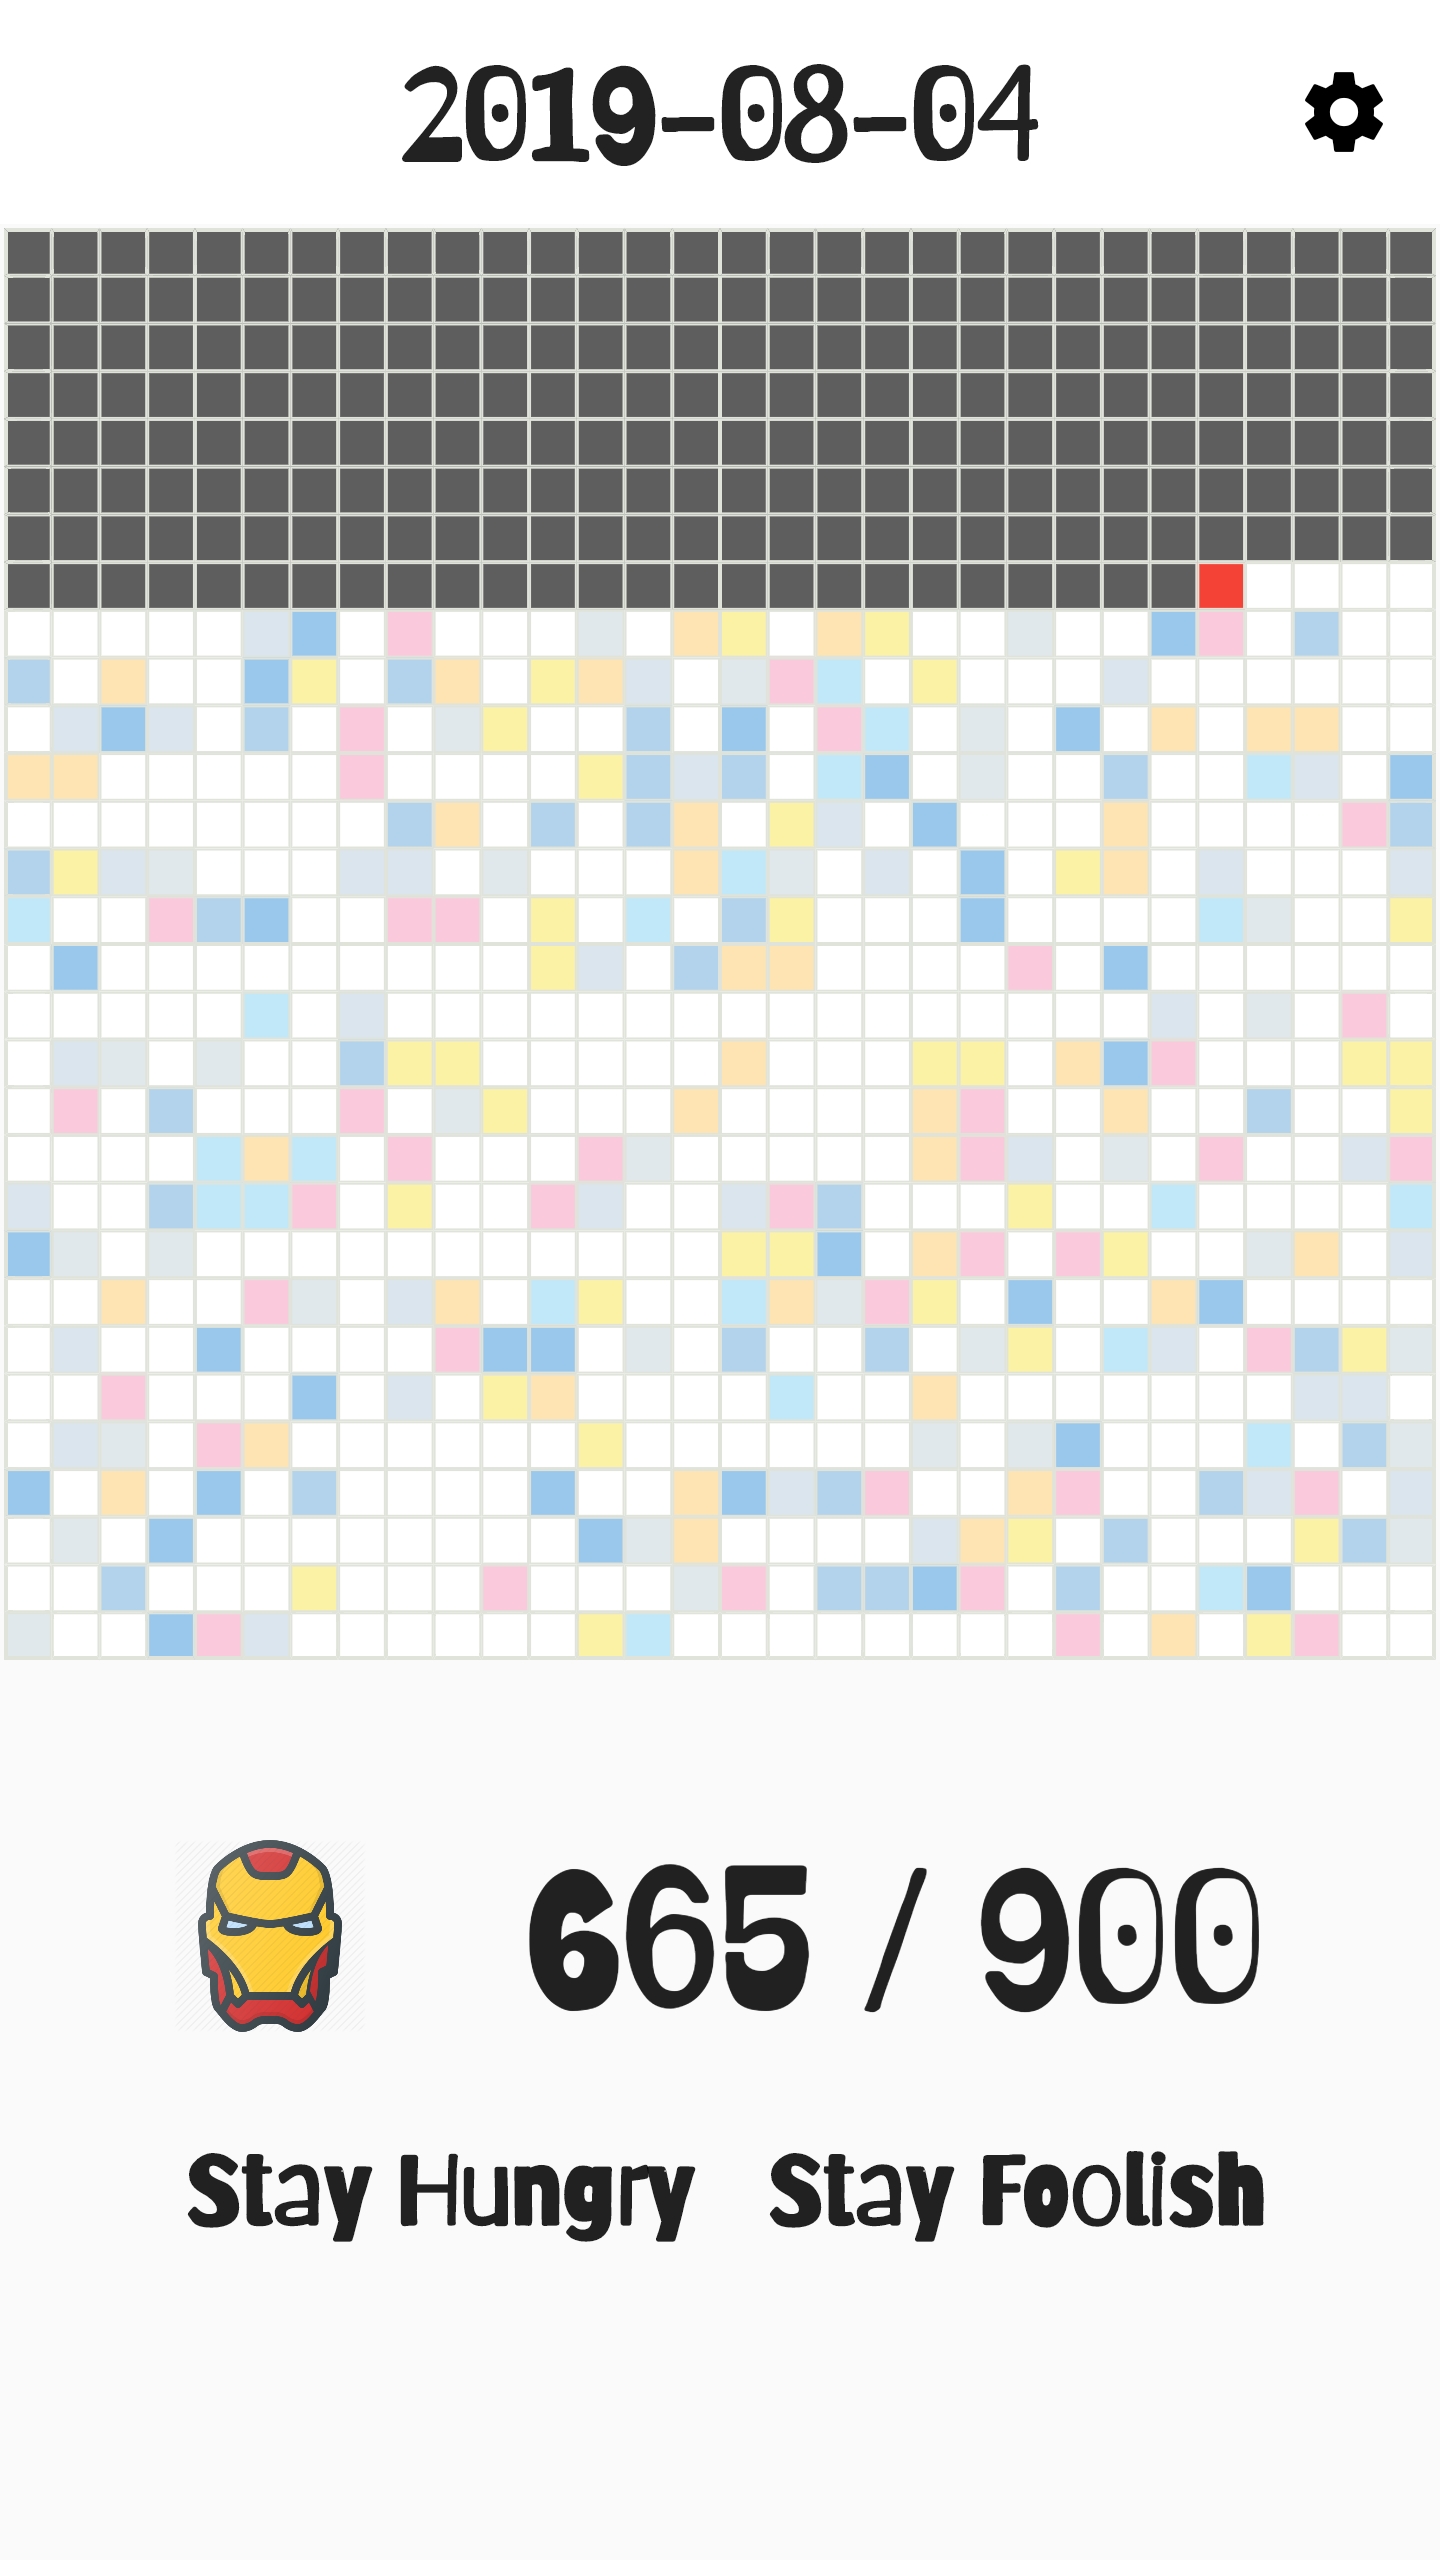
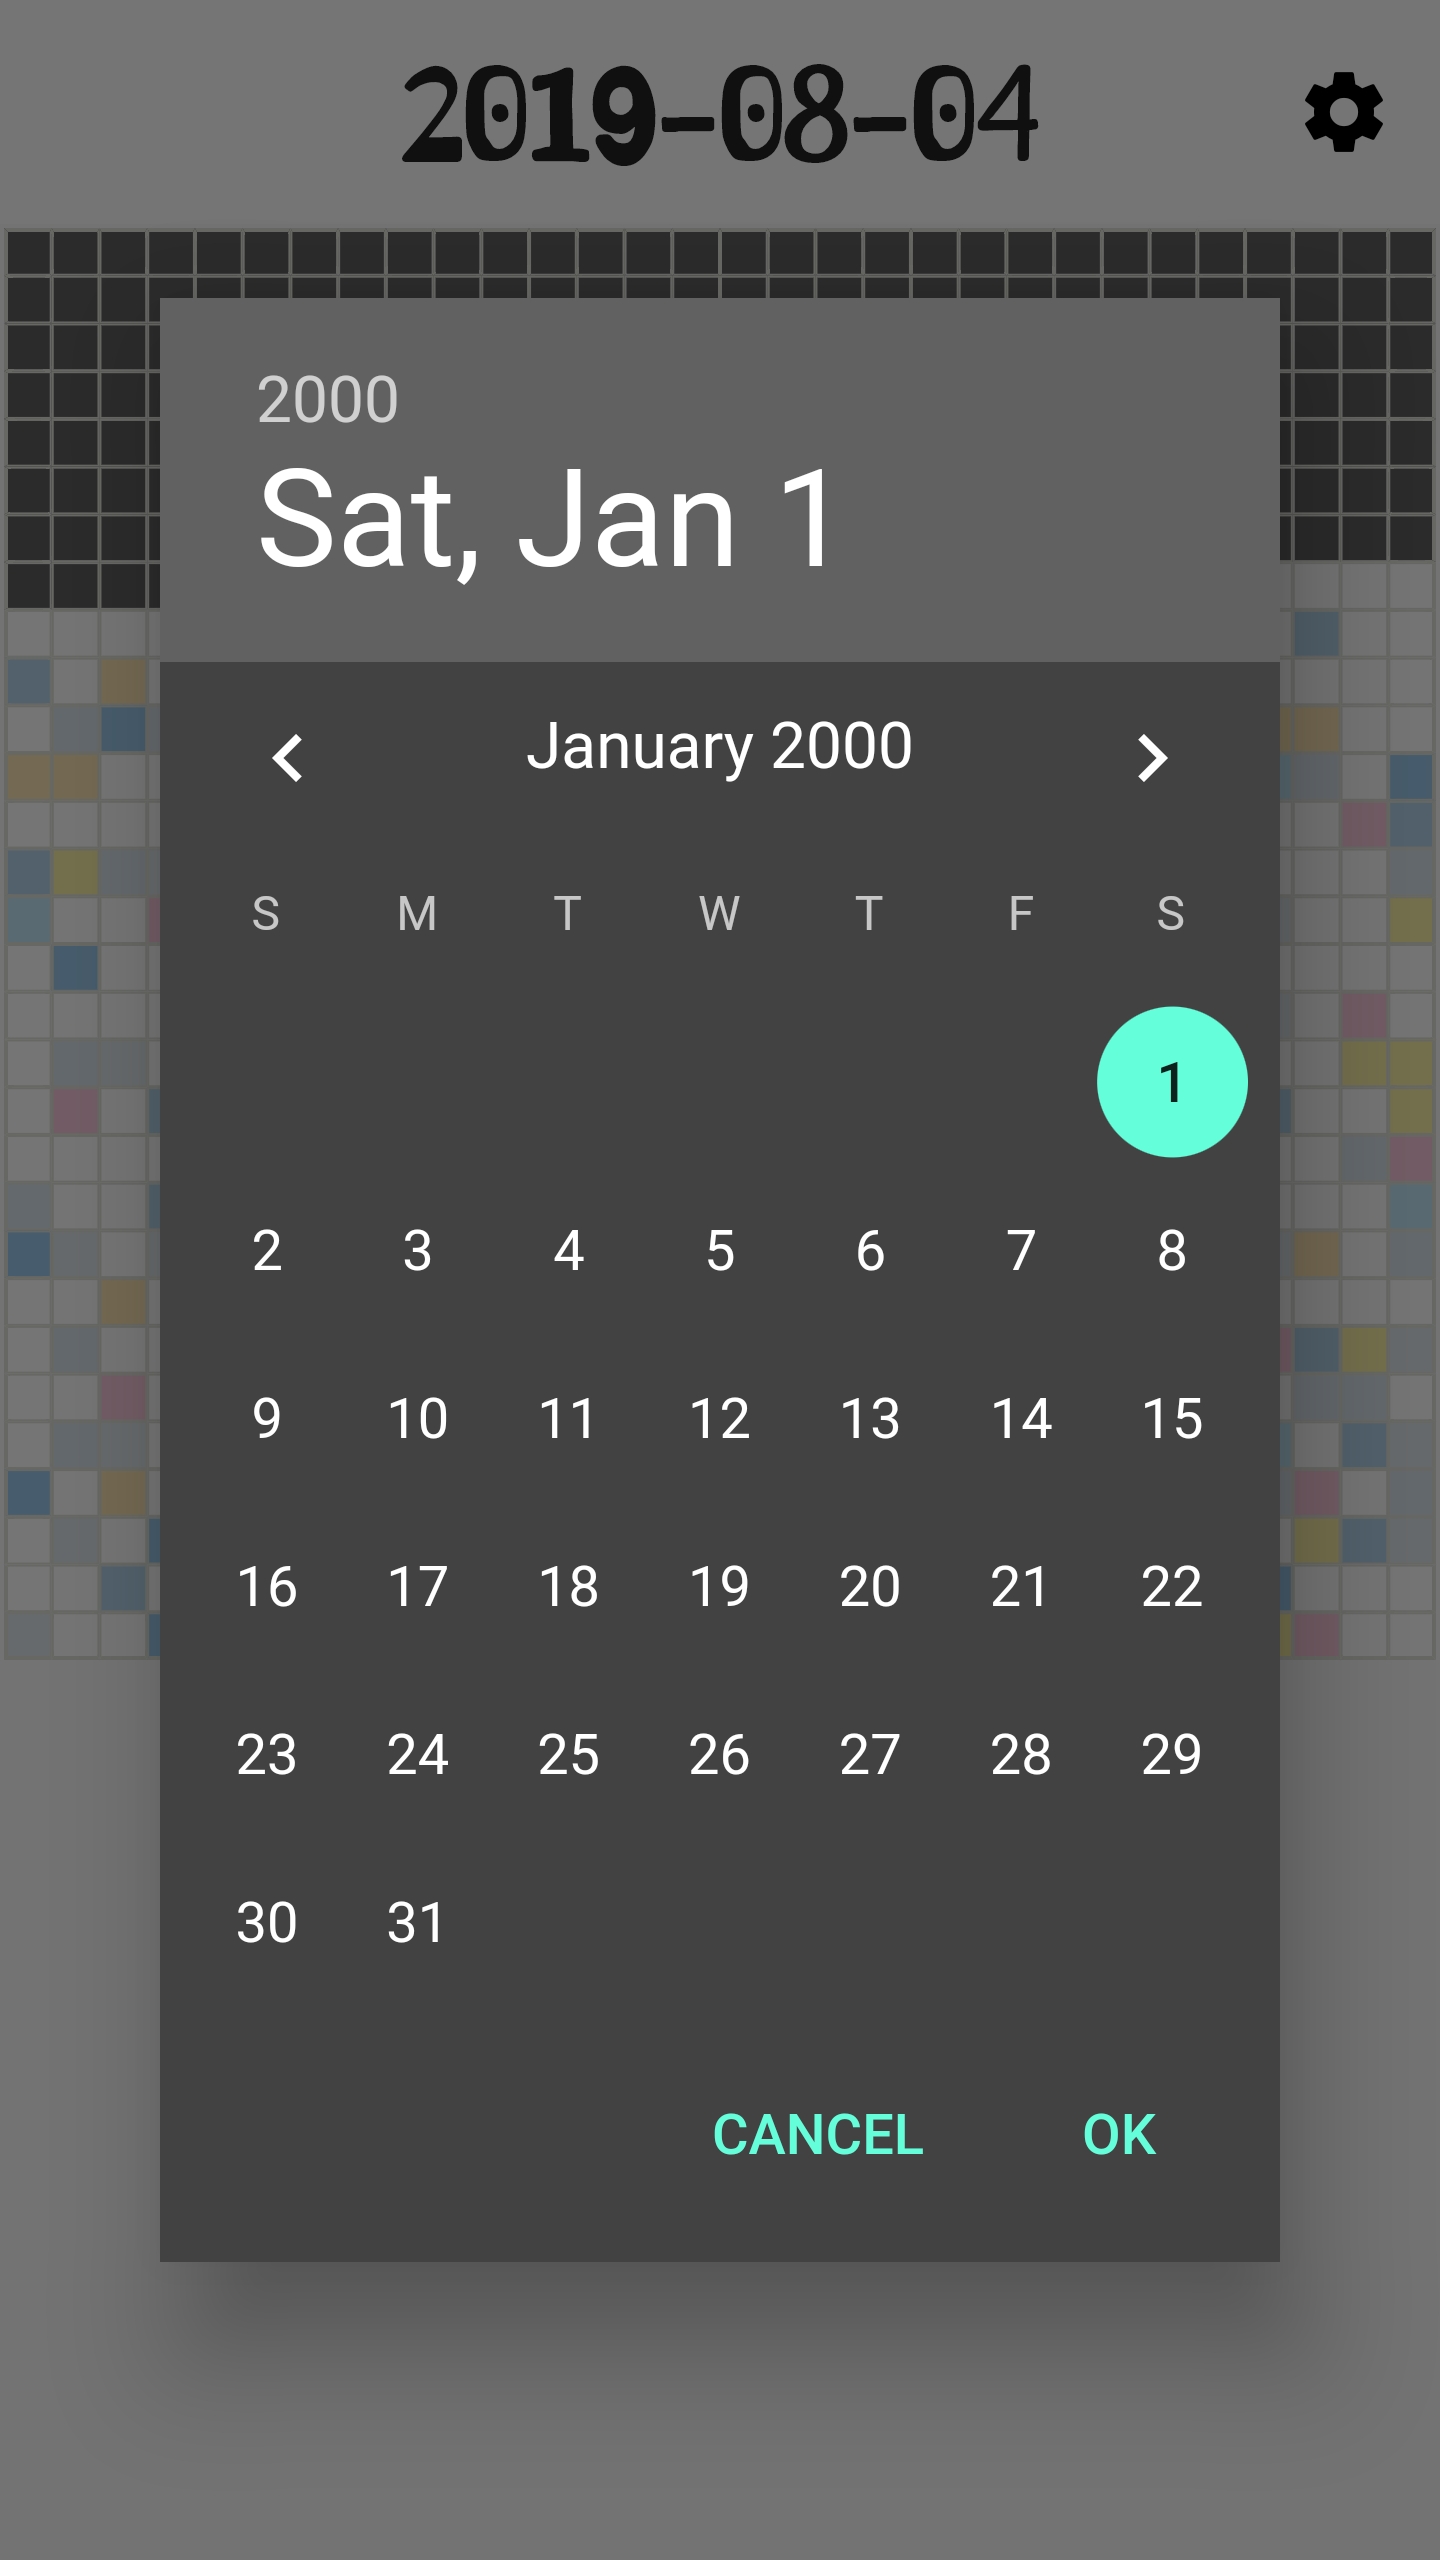
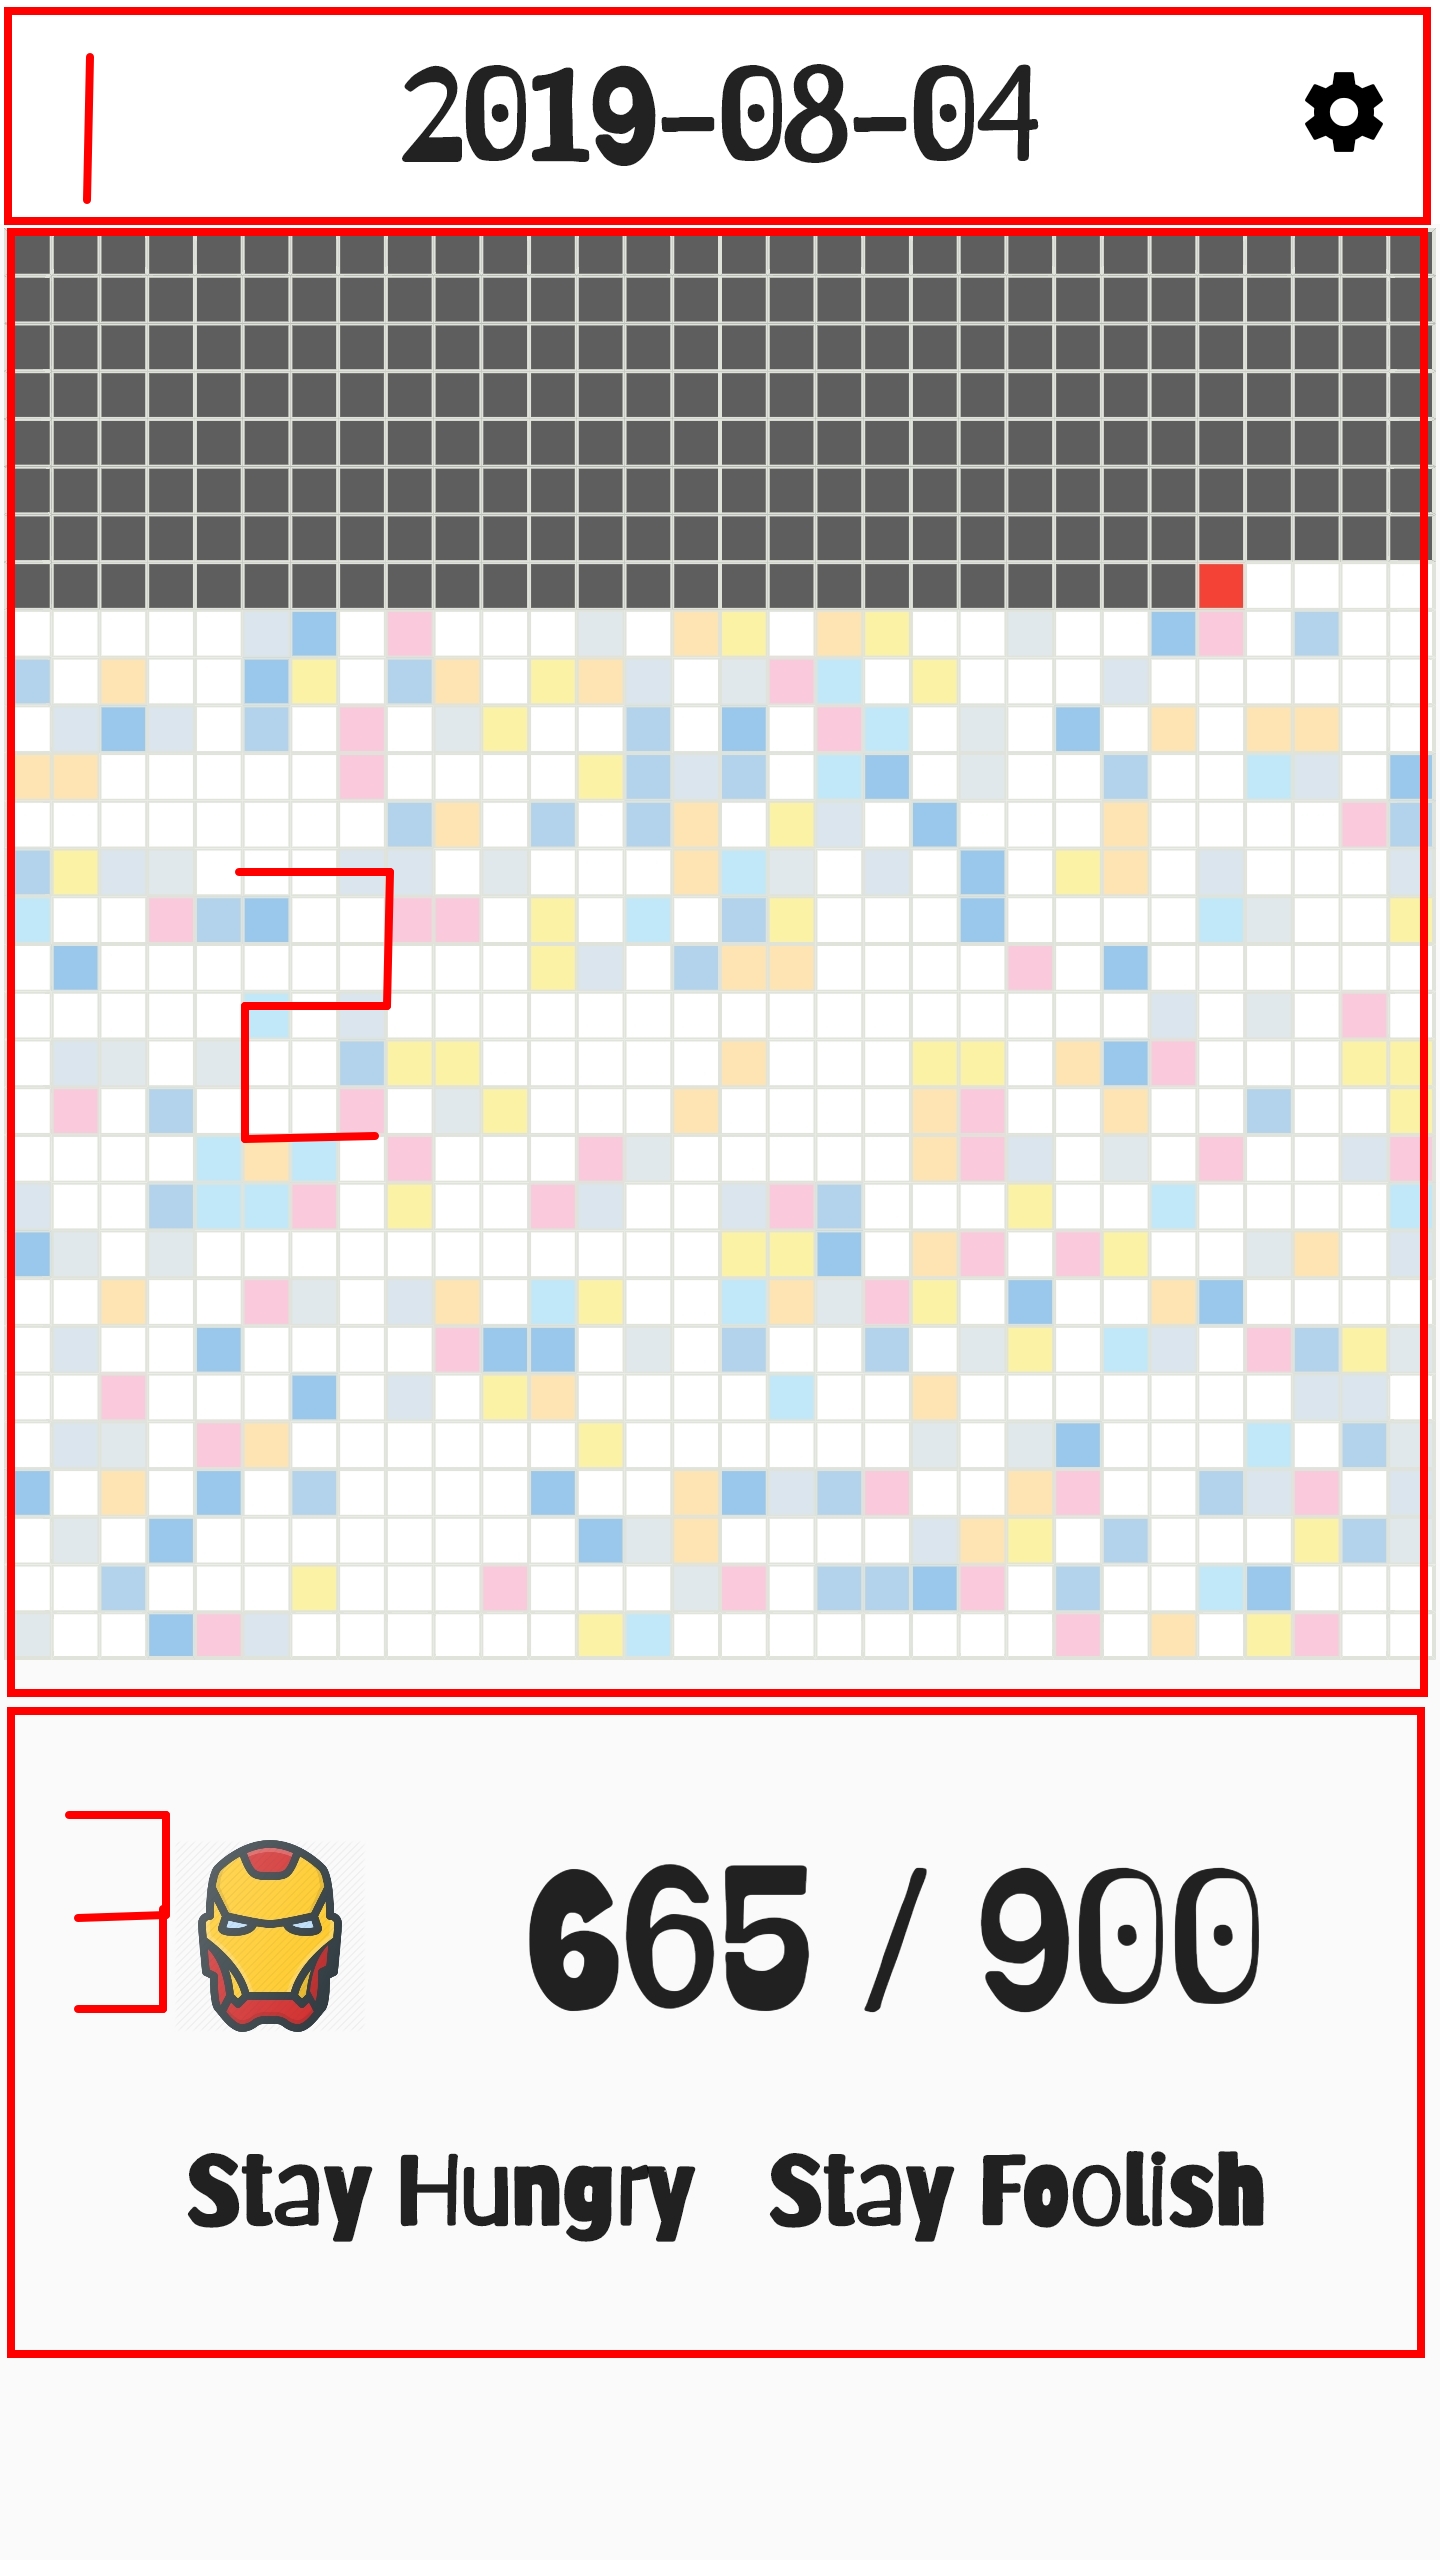
本帖最后由 zhouzaihang 于 2020-3-7 17:40 编辑 Github 源码链接 https://github.com/zhouzaihang/life_countdown 如果可以的话,在GitHub给个star啊案例介绍 起初我们来到这个世界, 是因为我们不得不来, 最后我们离开这个世界, 是因为我们不得不走. 出生和死亡都是我们没有把握的事情, 但是我们能把握的是从出生到死亡这段时间. 中国目前的人均寿命是 76.25 年, 算上程序员通宵透支的生命, 大约是 75 年, 也就是 30 * 30 个月. 本案例是用 Flutter 记录并计算生命的剩余时间: https://github.com/zhouzaihang/life_countdown 实现思路 页面分为三块, 第一部分显示时间, 第二部分显示时间格子, 第三部分显示剩余天数 在第一部分右边设置一个按钮, 点击时弹出时间选择器更改出生时间 代码编写 根据生日自动和当前时间计算逝去的生命和剩余的岁月 使用 SharedPreferences 存储数据到本地, 方便下次打开应用的时候自动从本地读取数据 使用 ScopedModel 作为状态管理, 在生日修改后, 更新所有相关的组件 import 'package:scoped_model/scoped_model.dart';
构建首页 import 'package:flutter/material.dart';
构建 AppBar appBar: AppBar(
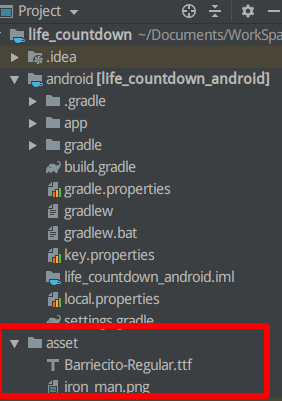
这里的字体是自定义的, Flutter 使用自定义字体的方法:将文件放在项目目录下, 例如项目的 asset 下: flutter:
3. 在相应的地方使用 fontFamily 调用:Text(
添加时间选择器 void showDefaultYearPicker(BuildContext context, Life life) async {
构建 body 网格组件 import 'dart:math';
设置一个 List 用于存放网格的随机颜色:static List<int> colors = [
网格是由一个一个小格子组成, 这里使用 Border 组件实现. 还需要定义一个根据对应的位置生成 Border 的方法:static BorderSide _borderThin =
网格可以看成是由 30 行组成, 每一行有 30 个 border 组件, 先定义生成一行的方法:List<Widget> rowDetail(rowIndex) {
再定义生成所有行的代码:List<Widget> rowList() {
最后把生成的所有行使用 Column 组件包起来就OK了, 最后完整的 grid.dart 如下:import 'dart:math';
然后在 main.dart 里引用 grid.dart 代码, 并在调用 Text 组件实现第三部分功能:ScopedModelDescendant<Life>(
最后完整的 main.dart 文件的内容如下:import 'package:flutter/material.dart';

 发表于 2020-3-7 17:36